
Home renovation projects can quickly turn into complex logistical puzzles. When a residential property needs multiple updates across several years of neglected maintenance or simply requires a complete structural overhaul, determining where to begin is often the hardest choice. Swinging a hammer without a clear sequence usually leads to wasted budget, ruined materials, and duplicated effort. A homeowner might install brand-new hardwood flooring only to watch a leaking overhead pipe destroy it two weeks later, or paint a living room right before dust-heavy drywall repairs happen in the adjoining hallway.
To build a home that is both visually appealing and structurally sound, the order of operations must follow a logical, time-tested path. That path starts deep underground and works its way up to the roof, before finally settling into interior cosmetics and exterior finish work. Understanding how each phase connects to the next prevents expensive mistakes and keeps trades working in harmony. Taking this step-by-step approach ensures that each layer of work protects the investment made in the previous stage.
When planning a major whole-house renovation, hiring experienced remodeling contractors provides the structural guidance needed to keep trade workers on schedule. These specialists understand how plumbing, electrical, framing, and masonry systems interact beneath the surface. They help establish a sensible timeline that keeps crews working efficiently without stepping on each other’s toes or damaging finished surfaces. By establishing a firm sequence of events early in the design process, property owners avoid expensive tear-outs, reduce wasted material, and keep overall stress levels under control throughout the lifecycle of the project. A well-orchestrated timeline turns an overwhelming overhaul into a manageable, rewarding venture that pays long-term dividends in comfort, security, and market value.
Phase 1 – Site Preparation and Removing Exterior Hazards

Before a single foundation footing is inspected or an interior wall is altered, the exterior environment surrounding the home requires careful evaluation. The immediate landscape has a direct impact on the safety and stability of the building structure. Assessing potential structural threats on the perimeter protects the house before heavy tools arrive. Heavy machinery, lumber delivery trucks, and concrete equipment need open, secure access to the property. Overhanging limbs, massive root networks, and leaning trees pose immediate threats to both the structural integrity of the home and the construction workers operating on site.
Large tree roots often stretch far beyond what is visible on the surface. These deep underground networks can press against basement walls, compromise utility pipes, and draw moisture away from the soil, leading to uneven ground shifting beneath footings. If a property features dead, dying, or overgrown trees standing close to the house, clearing them out early is essential. Contracting a professional tree removal team ensures that dangerous timber is cleared safely before major structural work begins. Falling branches during an unexpected storm can easily crush a newly installed roof or crack fresh exterior masonry if this initial step is overlooked.
Clearing away dangerous foliage also opens up crucial space for staging heavy construction materials and maneuvering site equipment. Excavators and dump trucks require clear pathways to operate without damaging surrounding property, overhead power lines, or underground utility pipes. Removing hazardous trees and clearing dense brush early on sets a clean slate for the heavy structural phases that follow, ensuring that the work site remains safe, accessible, and ready for heavy machinery.
Phase 2 – Sub-Grade Stability and Moisture Defense

Once the surrounding site is clear and safe, attention must shift to the very bottom of the building. A home is only as stable as the earth it rests upon and the concrete foundation that supports its weight. Over decades, soil compaction, water table fluctuations, and thermal freeze-thaw cycles can cause concrete footings to settle unevenly. Cracks in the foundation walls are more than just cosmetic eyesores; they represent serious structural vulnerabilities that will compromise interior renovations if left unaddressed. Ignoring foundation settling early leads to costly structural failures across upper living areas later.
Addressing deep structural flaws is the non-negotiable first phase of any serious renovation. Engaging structural specialists for foundation repair stabilizes the building, levels uneven subfloors, and closes structural gaps before any interior drywall, tiling, or framing takes place. Attempting to install modern interior finishes like custom cabinetry or tile backsplashes on an unstable, settling foundation guarantees cracked grout lines, stuck doors, and broken seals within months.
Hand in hand with structural stability comes water management beneath the living space. Groundwater exerts constant hydrostatic pressure against subterranean walls, forcing moisture through porous concrete and tiny microcracks. Installing a comprehensive basement water control system—including interior perimeter French drains, reliable heavy-duty sump pumps, and exterior damp-proofing membranes—ensures that the lowest levels of the home remain completely dry. Taking care of water intrusion at the sub-grade level protects valuable mechanical equipment, prevents hidden mold growth, and creates a healthy environment for any future finished basement living spaces, keeping the foundation resilient against seasonal weather changes.
Phase 3 – Weatherproofing the Building Envelope
With a solid, bone-dry foundation beneath the structure, the focus of the renovation moves directly to the building envelope. The envelope includes the roof, exterior wall cladding, windows, and entry doors. The primary objective at this stage is to make the entire structure completely weather-tight against rain, snow, and wind. Interior building materials like timber framing, insulation batts, electrical wiring, and drywall sheets are extremely vulnerable to water exposure. Exposing these fresh components to weather during construction leads to wood rot, electrical corrosion, and toxic mold growth.
Replacing an aging or leaking roof is top priority when closing the building envelope. Investing in superior roofing systems protects interior finishes and enhances overall property value. Engaging a trustworthy roofing service to replace worn shingles, fix rotting roof decking, and install proper flashing around chimneys and roof valleys secures the primary upper barrier of the house. Modern roofing materials provide enhanced weather protection and thermal reflection, keeping driving rain out of the attic space and preventing water leaks from trickling down into living quarters.
At the same time, updating old, drafty windows and exterior doors helps complete the outer envelope. High-performance glass units and insulated entry doors keep harsh external elements out while helping maintain controlled interior temperatures. Once the roof, siding, and exterior openings are fully sealed against weather, interior trades can work safely inside regardless of external weather conditions, keeping the master project schedule moving forward without unexpected weather delays or material losses.
Phase 4 – Core Mechanicals, Plumbing, and Climate Control
After the home is fully sealed against water and weather, it is time to install the internal working systems. This phase is commonly known as the mechanical rough-in stage. Plumbers, electricians, and heating technicians work inside the open wall cavities before any insulation or drywall is attached to the studs. Routing pipes, running electrical wiring, and installing ductwork are exponentially faster, cleaner, and less expensive when the structural framing is completely exposed. Proper mechanical layout at this stage simplifies future maintenance and keeps energy consumption optimized.
Modernizing the heating, ventilation, and air conditioning infrastructure is critical for long-term home comfort and indoor air quality. Utilizing expert HVAC services allows homeowners to replace outdated, inefficient furnaces, install modern heat pumps, and run properly sized, insulated ductwork throughout the entire layout. Correctly sizing these climate systems ensures consistent temperature balance across every floor while drastically cutting monthly utility costs over the life of the property.
Plumbing upgrades also belong in this phase of the sequence. Beyond replacing old galvanized steel or corroded copper pipes with modern flexible tubing, home plumbing systems benefit significantly from proper water conditioning equipment. Incorporating a dedicated water softener system during the plumbing rough-in phase protects brand-new pipes, water heaters, and high-end bathroom fixtures from mineral scale buildup. Softened water prolongs the operational lifespan of appliances and prevents unsightly hard water mineral stains on glass, porcelain, and tile surfaces across the entire home, ensuring that newly installed fixtures remain pristine for years.
Phase 5 – Wall Assembly, Insulation, and Interior Framing
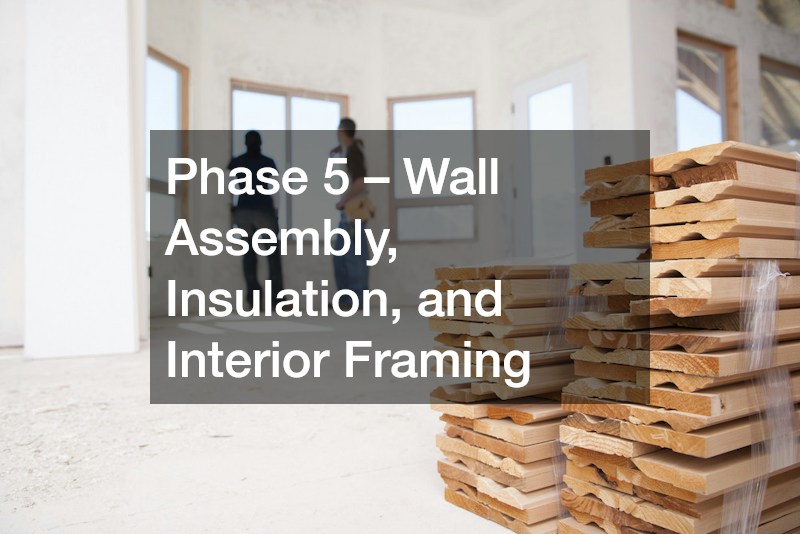
With core mechanical, electrical, and plumbing lines safely routed throughout the structure, building inspectors can review the rough-in work. Once municipal code approvals are officially secured, the project transitions to closing up the interior structure. This step bridges the gap between raw utility infrastructure and finished, paint-ready interior rooms.
Thermal insulation is the first major material layer installed inside the open wall studs and ceiling joists. High-performance insulation—whether fiberglass batts, blown cellulose, or closed-cell spray foam—creates an effective thermal barrier between the living space and outside weather. Proper insulation installation prevents thermal bridging, reduces monthly energy bills, and acts as a noise barrier between rooms. Thorough insulation installation creates a quiet, energy-efficient indoor environment that reduces utility expenses year-round. Soundproofing interior walls around bathrooms, laundry areas, and bedrooms is especially effective when executed during this exact window of construction.
Following insulation installation, heavy drywall panels are hung across ceilings and walls throughout the house. Taping, mudding, sanding, and priming the drywall creates clean, flat surfaces ready for wall paint and decorative trim. Hanging drywall completely transforms the visual environment of a home, converting an open timber frame into distinct, defined living zones. Drywall sanding generates substantial dust, which is precisely why it must be completed before high-end flooring, custom cabinetry, or delicate light fixtures are brought onto the premises, keeping sensitive finishes pristine and damage-free.
Phase 6 – Custom Cabinetry, Surfaces, and Interior Finishes
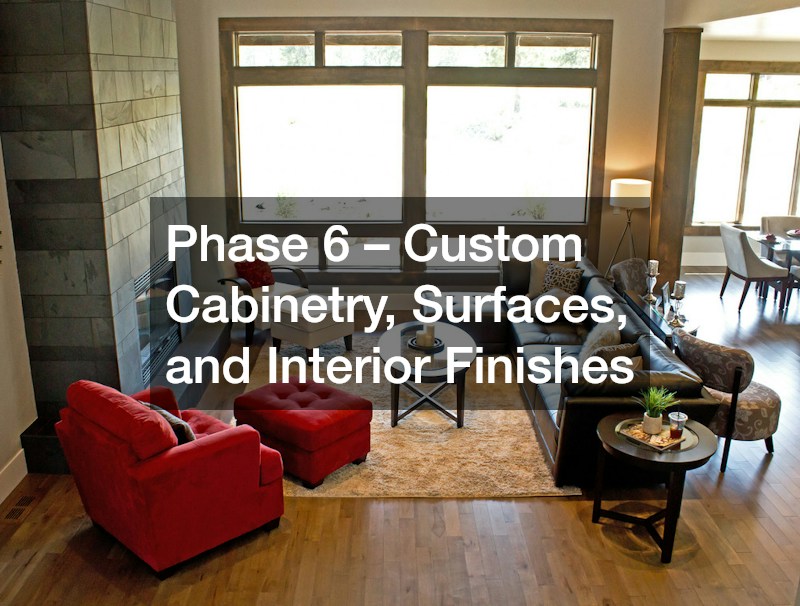
With walls fully primed, ceilings finished, and subfloors leveled, interior finish work can begin in earnest. This stage turns bare drywall enclosures into beautiful, highly functional living spaces. Selecting quality materials for high-use areas ensures that rooms withstand daily wear while maintaining aesthetic appeal. Kitchens and bathrooms require the greatest concentration of trade craftsmanship because they combine complex plumbing, electrical, and custom storage components in tight quarters.
Storage solutions and vanity units form the structural anchors of these functional spaces. Installing high-quality bathroom cabinets creates essential storage, conceals plumbing lines, and sets the design language for master baths and powder rooms. Precise leveling during cabinet installation ensures that plumbing drains align properly and doors hang straight without rubbing against adjacent surfaces.
Directly following cabinet installation, solid surfaces can be accurately measured, fabricated, and installed. Ordering custom countertops tailored to fit the exact dimensions of newly installed cabinets brings both elegance and long-term durability to kitchens and bathrooms alike. Materials like quartz, granite, or solid quartzite require precise digital templates taken after cabinets are permanently secured. Once counters and integrated sinks are mounted, plumbers can complete final trim connections, installing faucets, supply lines, and appliances without risk of damaging raw stone or wood surfaces. Finishing these interior details according to sequence protects structural investments while delivering polished, luxurious living environments.
Phase 7 – Finalizing Exterior Grounds and Landscaping
As interior contractors wrap up paint touch-ups, light fixture installation, and final deep cleanings, attention turns back to the surrounding property exterior. Construction activities naturally inflict wear and tear on lawns, driveways, and surrounding soil. Heavy machinery, delivery trucks, and trade foot traffic compress soil, destroy turf, and alter ground drainage patterns around the home. The final phase of a well-ordered home overhaul restores and elevates the home’s exterior environment.
Hiring a professional landscaping contractor turns rutted dirt yards into beautiful, inviting outdoor environments. These specialists handle final grading around the foundation, ensuring that surface water drains safely away from the building’s footings. They lay fresh sod, plant decorative trees and shrubs, construct paver walkways, and build functional outdoor living spaces that complement the renewed house. Correct exterior grading protects the foundation and the basement moisture barriers installed during the earlier phases of the project.
Finishing exterior projects last prevents heavy construction traffic from ruining delicate plants, fresh sod, or newly poured concrete pathways. A thoughtfully designed outdoor landscape adds incredible curb appeal and completes the home transformation. Once the grounds are fully landscaped and illuminated with exterior safety lighting, the entire renovation comes together as a cohesive, expertly built structure from the sub-grade foundation all the way up to the rooftop shingle. Following this deliberate sequence ensures that every dollar spent yields maximum value, lasting durability, and true peace of mind for the home’s owners.